Brakes on a Classic Car: The System That Doesn’t Forgive Neglect
on
On a classic car I can forgive a lot. A radio that doesn’t work, a window that sticks, a small oil leak, an engine that needs two tries to start. Brakes, though, I never forgive. A car from the ’60s or ’70s brakes much worse than a modern one anyway. If the system isn’t in perfect condition, the difference becomes dangerous. And the most insidious thing: brakes rarely fail overnight. They get worse little by little, and the driver gets used to it.
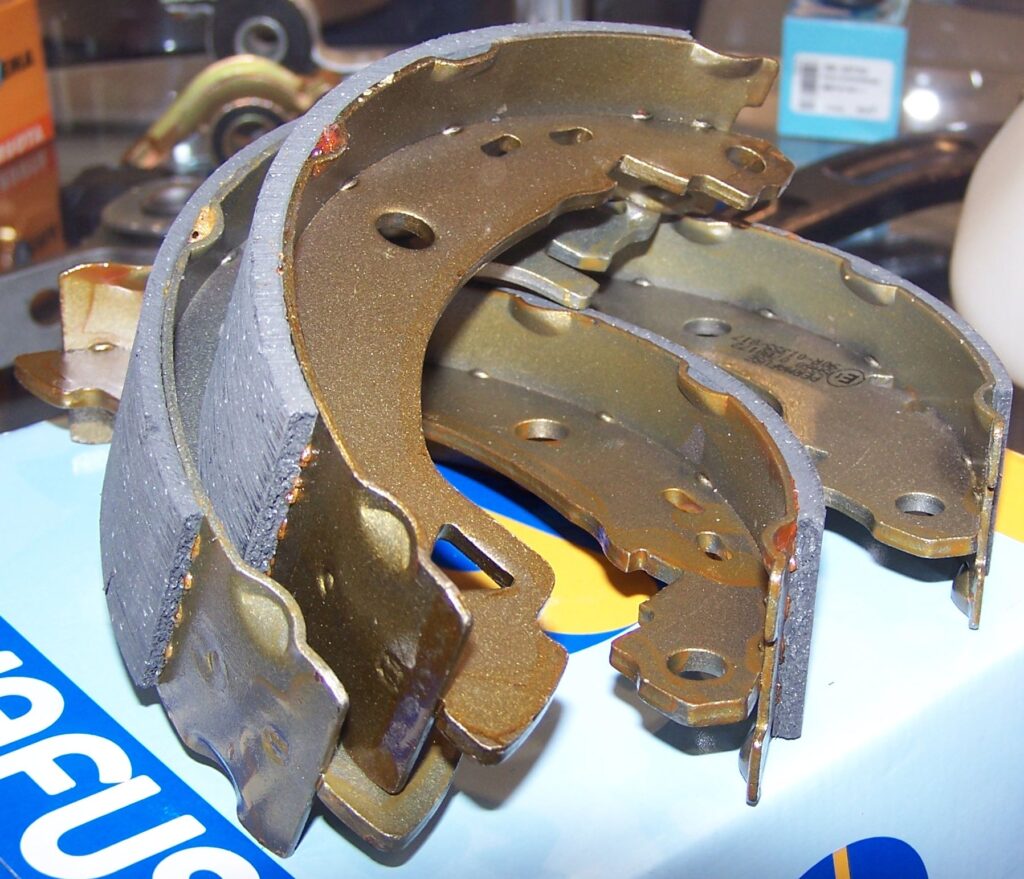
Brake shoes for drum brakes.
Photo: Maly LOLek / Wikimedia Commons, CC BY-SA 3.0
I’m not here to teach you how to repair brakes. If you don’t have experience, that’s a job for a good mechanic. But I want you to know what to ask for and what to check.
The fluid: the invisible enemy
Most brake fluids (DOT 3, DOT 4 and DOT 5.1) are glycol-based and hygroscopic: they draw moisture from the air, through the reservoir cap and the flexible hoses. Over the years, water in the fluid does two bad things. First, it lowers the boiling point. On a long mountain descent, with hot brakes, the fluid can boil, bubbles form, and the pedal “sinks” to the floor. Second, it rusts the cylinders, calipers and pipes from the inside.
That’s why most manufacturers recommend changing the fluid roughly every two years, regardless of mileage. On a classic that covers few kilometres and stands a lot, this is even more important. If the fluid in the reservoir is dark brown instead of light yellow, it’s long past its date.
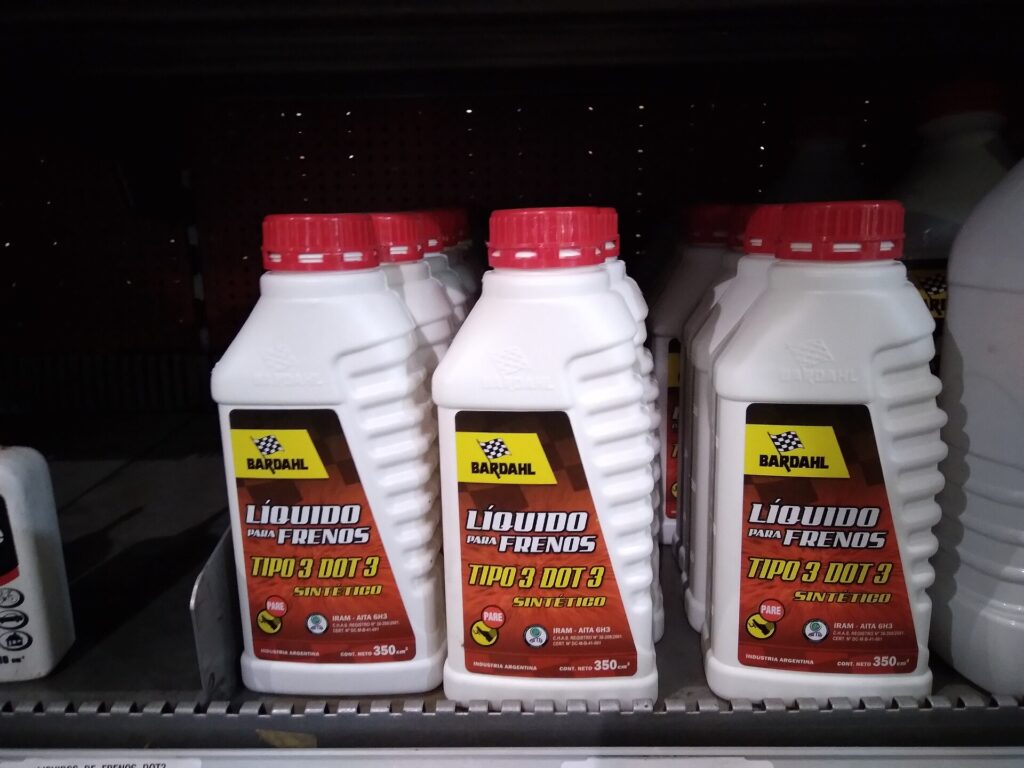
DOT 3 brake fluid. Check the type before topping up.
Photo: Just a Man / Wikimedia Commons, CC BY 4.0
DOT 5: the purple fluid that doesn’t mix
Careful here, because the numbering is confusing. DOT 5 is not a “better DOT 4”. It’s a completely different, silicone-based fluid, usually purple. It doesn’t absorb moisture and doesn’t damage paint, which is why quite a few people prefer it for cars that stand a lot. But it doesn’t mix with the others, and if you put it into a system with DOT 4 without fully stripping and cleaning it, you can have problems with the seals. DOT 5.1, on the other hand, is glycol and compatible with DOT 3 and 4. Never top up without knowing what’s already in there.
And a special case we’ve mentioned before on this site: the Citroën DS and other cars with a central hydraulic system use their own fluids (LHM or LHS). On those, ordinary brake fluids destroy the system.
Drums, discs and pipes
Many classics have drum brakes, at least at the rear. Drums aren’t bad, but they need correct adjustment, because as the shoes wear they move away from the drum and the pedal gets longer. On many cars of the period the adjustment is done by hand, with a screw on the backplate. They also need cleaning of brake dust, and checking for fluid on the shoes: if they’ve been contaminated by a leaking wheel cylinder or axle seal, they can’t be cleaned, they must be replaced.
Steel brake pipes rust on the outside, especially where they run under the floor and near the wheels. A pipe can look just “rusty” and burst at the first hard stop. During a restoration many people replace them all with copper-nickel (Kunifer), which doesn’t rust and bends easily. The flexible hoses age, swell on the inside and crack on the outside. If you don’t know how old they are, change them.
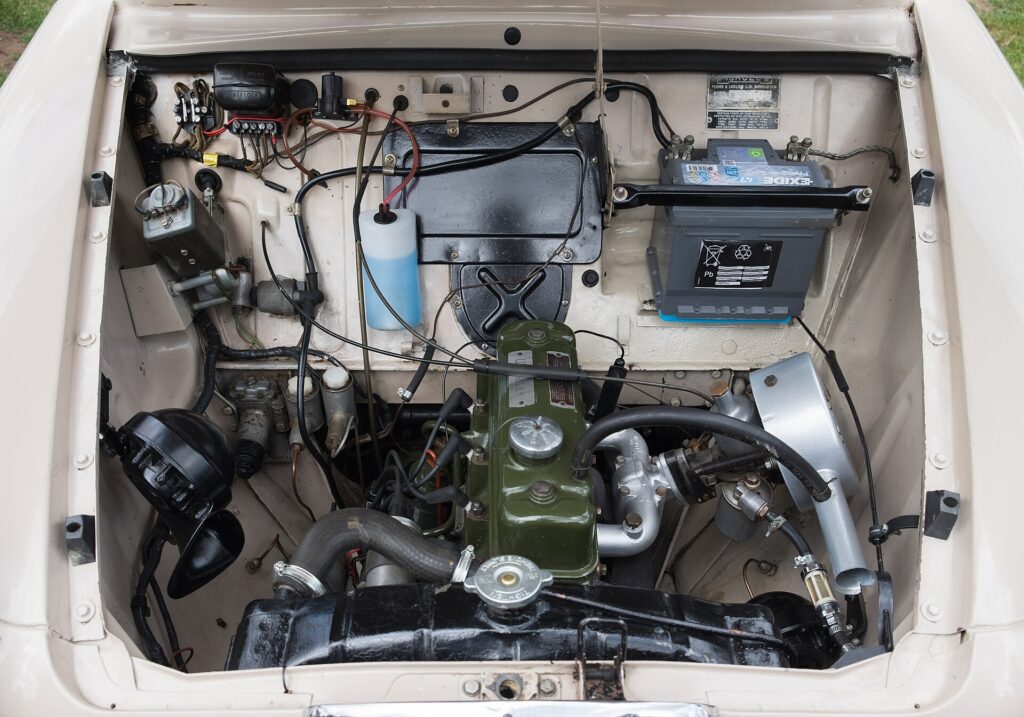
The engine bay of a 1959 Wolseley 1500. The fluid reservoirs need checking for level and colour.
Photo: DeFacto / Wikimedia Commons, CC BY-SA 4.0
Bleeding
After any work on the hydraulic circuit, the system needs bleeding to get the air out. Air compresses, fluid doesn’t, and a system with air in it gives a soft, spongy pedal. The classic method uses two people (one presses the pedal, the other opens and closes the bleed nipple), usually starting from the wheel furthest from the master cylinder. There are also tools that let one person do it. But every car has its own sequence, especially those with dual circuits or a servo, so check the manual.
A simple check for any classic
On any classic you drive for the first time, do a few simple things. Press the pedal with the engine off and see whether it’s firm or slowly sinks. Check the level and colour of the fluid. On an empty, safe road, brake steadily from low speed and see whether the car pulls to one side. And after a drive, carefully bring your hand close to the wheels: if one is much hotter than the others, a caliper or a drum is sticking.
Brakes aren’t the glamorous part of a restoration. Nobody opens the bonnet at a meeting to show off their brake pipes. But they are the part that will get you home. Put them first on the list, and the rest will follow.
P.Kefalas
Photo Credits: Maly LOLek (Wikimedia Commons, CC BY-SA 3.0) · Just a Man (Wikimedia Commons, CC BY 4.0) · DeFacto (Wikimedia Commons, CC BY-SA 4.0)